How-to
How to prepare your logo for a custom grinder
File formats, vector vs raster, colour and detail rules — a five-minute checklist that saves a week of proof revisions.
July 2026

Send a vector if you have one
Vector files (SVG, AI, EPS, PDF) describe your logo as shapes rather than pixels, so they scale to any lid size with perfectly crisp edges — which is exactly what an engraving toolpath or laser needs. If your designer ever made you a brand kit, the vector logo is in there. A clean, high-resolution PNG works too (GMI accepts PNG, JPG, SVG, PDF, AI and EPS up to 10 MB), but vector removes an entire round of cleanup.
Think in one colour for engraving
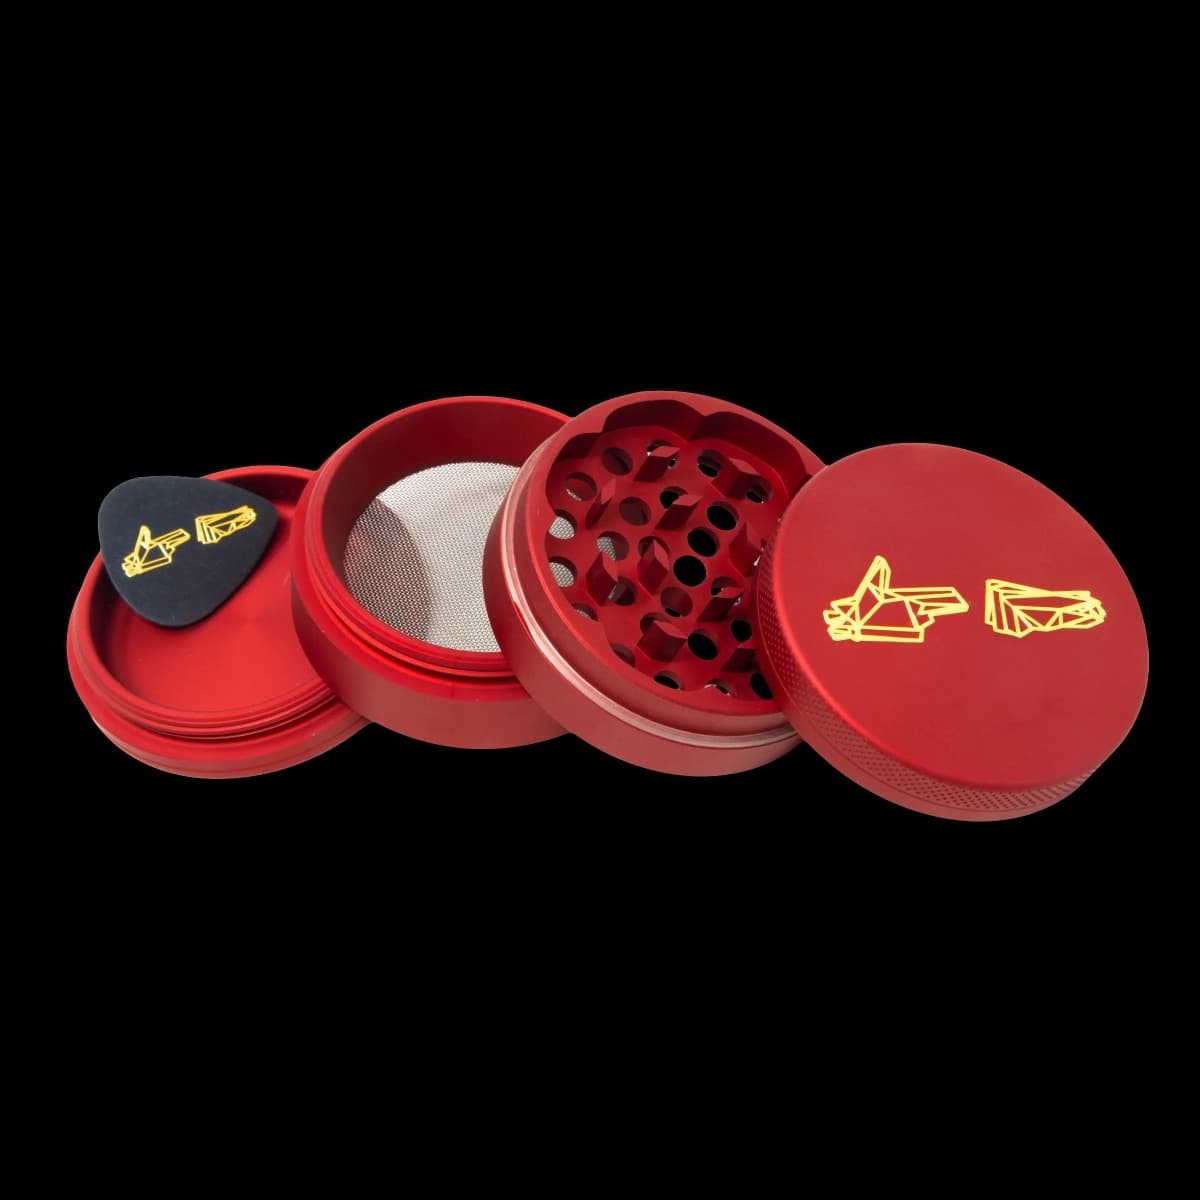
3D and laser engraving render your mark in the finish metal — gold, silver, rose gold, or the exposed coat — not in your brand palette. That means the engraved version of your logo is effectively one colour. Logos with solid shapes and confident linework translate beautifully; logos that depend on colour separation between adjacent elements may need a simplified 'engraving mark'. Most strong brands already have one — it's the version on your letterhead.
Respect minimum detail
Metal has a physical resolution. Hairline strokes, six-point type and dense crosshatching can close up when carved and mirror-filled. As a rule of thumb: if a detail wouldn't survive being photocopied at 50%, flag it. Laser engraving holds finer detail than deep 3D cuts — it's the right home for small text and QR codes — and your proof will show exactly what survives before anything is machined.
Full colour? Prepare it like print
For UV printing, treat the file like premium print work: highest-resolution export you have, RGB is fine, and avoid pre-flattened white boxes around the artwork. If your logo sits on a white background in the file, ask for the background to be removed — or use a customizer with automatic white-background removal, like GMI's, which keys it out live so you can see the true silhouette on the metal.
The proof is the safety net
Whatever you send, nothing goes to the machines until you approve a digital proof showing your artwork at real scale, in your chosen finish, on your chosen body colour. That proof round (about one business day at GMI) is where sizing, placement and detail questions get settled for free — a proof revision costs nothing; a machined mistake costs a production run.